Decorating a cardboard mask: a great task for artistic young children
Dick Turpin, Zorro and French nobility all used to love wearing masks and so will your kids. Masks can be scary or decorative – it’s a choice which is entirely up to children’s imagination.
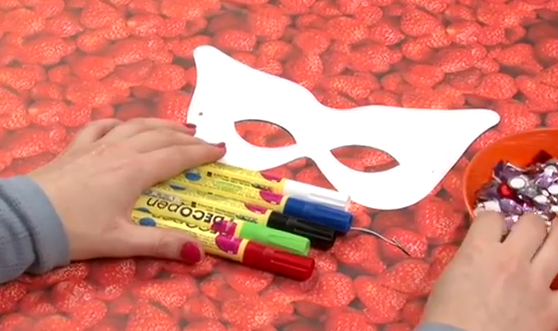
You will find a list of all the materials needed to make a mask below. These arty essentials can be ordered from Baker Ross arts and crafts website. The catalogue numbers are included to save you some time!
- Design-a-Mask Pack of 12 white cardboard masks, EK322
- A pack of acrylic Deco Pens, EK318
- Large Self Adhesive Acrylic Gems, EM632 – a pack contains 120 jewels
You can buy all the mask-making products for under £18 and have enough materials to make 12 masks and keep a dozen children happily occupied during a lesson or after-school activity.
Why not try making a mask yourself before letting children loose on this task?
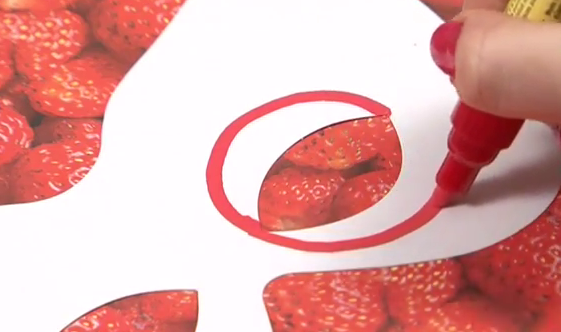
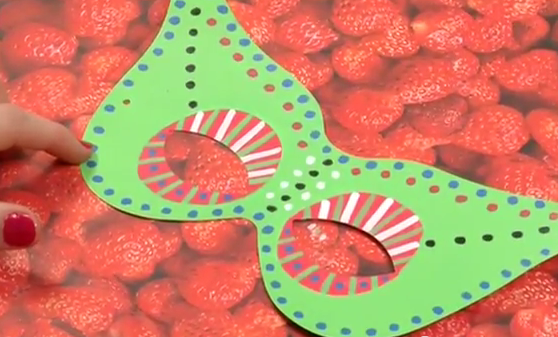
Firstly, take the red Deco pen and give it a good shake. Test it by pressing the nib to a piece of scrap paper so that the paint starts to flow. Then start to draw in some detail around each eye with two swift curves. Once this is done you can colour in the areas within the curves.
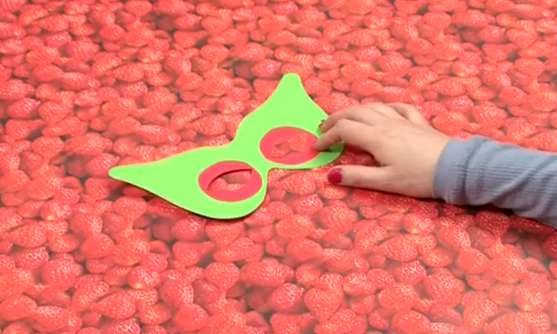
Now you can colour in the mask’s background with a green pen – take particular care around the eye detail.
Does your mask now look like the one Kate has prepared below? Let’s hope so!
Next it’s time for the white Deco pen to show its value. Pick one up and add lashes around the top of the eye – you can add green lines in between the white lines if you like. Kate has also thrown in some blue spots for a bit of variety.
She’s also added a ‘trail’ of black spots leading from the eye to the corner of the mask.
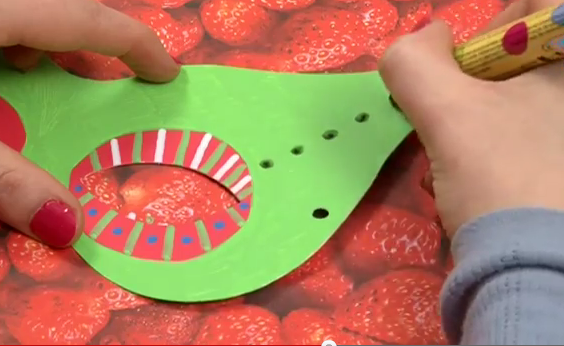
The mask is now really starting to take shape; especially after you add a row of spots down the centre of the mask just above where your nose will be.
Admire your handiwork and then pick four self-adhesive gems. Peel off the backing and fix some in place along the left- and right-hand sides of the mask. Make sure one side’s gems match the other side’s!
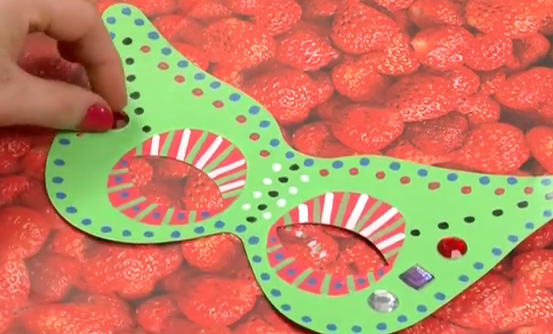
You should have some leftover star-shaped gems which look ideal positioned just above the mask’s eyelashes.
Your arty work is now completed and it’s time for the practical matter of threading the metal ends of the elastic which comes with the mask kit through the holes at the side of the mask.
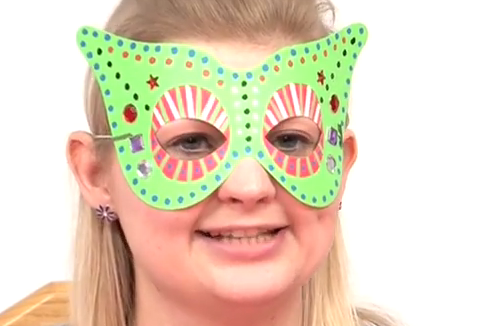
Once this is done you are ready to teach your kids how to do it and ready to organise a fancy dress party so that you can show off their artistic skills!
This is what Kate looks like in her mask.
And you’ll find some other great examples of mask designs below.

Don’t worry if you’re struggling to make a mask – a video tutorial on the topic is available!
James Christie writes for Baker Ross. Check out Baker Ross’s website to see a great range of Diamond Jubilee craft essentials
This is a sponsored post